Blocked emails? Avoid spam filters with SPF & DKIM records
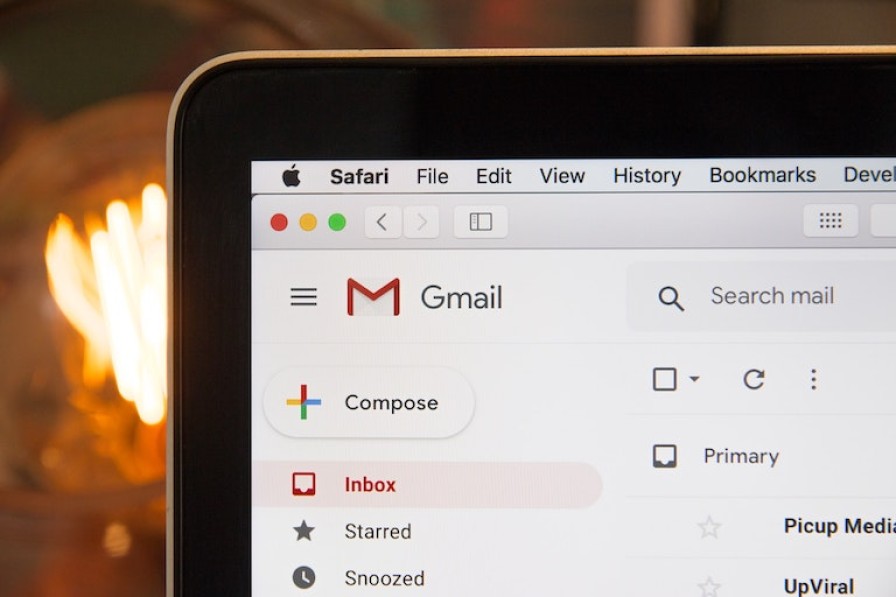
Gmail and other email systems require email senders to be authenticated by an SPF or DKIM record. Here’s how to make sure your mail gets through spam checks.

Updated, July 2024: This article, originally published 23 March 2023, was updated after we made it easier for Cloud Container customers to update DKIM records.
After a policy change at Google in November 2022, more and more of our customers noticed that their emails were being marked as spam, or even completely rejected, by Gmail. As Google explained at the time:
New senders who email personal Gmail accounts must set up either SPF or DKIM. Google performs random checks on new sender messages to personal Gmail accounts to verify they’re authenticated. Messages without at least one of these authentication methods will be rejected or marked as spam.
Other email platforms have joined Gmail and implemented similar requirements for SPF or DKIM records. For bulk senders who fire off thousands of emails a day, Gmail has even stricter rules.
It’s obviously no good when you can’t get in touch with your customers, or when messages go missing. Luckily the solution is fairly straightforward, and you can get the fix in place today.
SPF records
SPFs - sender policy frameworks - are the simplest way to meet the entry-level requirements for email senders. They are DNS TXT records that specify which servers send email on behalf of your domain, or which IP addresses your emails come from. Email that appears to come from your domain needs to also come from an identified server or IP address in order to be treated as legitimate.
There are two reasons that your emails would come from our servers:
We are your email host, and/or
We host your website and it sends emails, for example when customers submit new orders or fill out your contact form.
Either way, if you send email from me@example.com, your domain’s SPF record needs to tell Gmail (and every other email service) that it’s legitimate for example.com emails to come from SiteHost servers.
The SPF record to add would look something like this:
v=spf1 ip4:192.1.1.0 include:_spf.sitehost.co.nz -all
This tells the receiving email system that it should accept emails from your domain if they come from either:
the IP address
192.1.1.0, and/orany address that’s defined in the
_spf.sitehost.co.nzTXT record (which we maintain).
The final part of the record tells the system what to do with messages that don't meet either of these criteria. ~all will accept them and mark them us insecure or spam. The harsher option, -all , will reject them (i.e. not deliver them at all).
See Email FAQs in our Knowledgebase for a more thorough look at the DNS record you need to create. Cloudflare have a great article that goes into even more detail about configuring SPF.
DKIM records
DomainKeys Identified Mail (DKIM) provides an additional layer of surety. If you have a higher volume of emails to send, or stricter security requirements, or if you simply want to future-proof a little bit, DKIM is advisable.
DKIM uses a key pair stored against a ‘selector’, which is mapped to a DNS record. It's common to use mail as the selector, which requires a DNS record added for mail._domainkey. When you send emails, they go through a process to check that your address is mapped against the right selector, and that selector has a valid private key. If it does, the sending server then adds a DKIM signature with that private key to your email headers. The receiving server checks that identifier using the public key, and if it passes the test, the email is accepted. Once again, Cloudflare go into more detail in their DKIM article.
Adding DKIM records
Adding a DKIM record is more complicated than adding an SPF record.
If you send email via a website or service hosted on Cloud Containers
For now, if you want DKIM enabled, please get in contact with us at support@sitehost.nz. The details we’ll need from you are:
Which selector do you want to use? While
mailis a common choice, if you’re already using this for another DKIM record you’ll need to pick something else.Which email address(es) do you want this enabled for? It’s possible to enable it for multiple domains or even wildcard addresses if necessary.
Should we generate the DKIM key pair, or do you want to provide one? We’ll usually just generate a key pair for you, but if you’ve already got a DKIM record you can provide us the private key instead.
Once we’re done configuring it, all that’s left for you to do is to add the DNS record for your key and selector (if it’s not already there), and send a test email. If it worked, the DKIM signature will be right there in your email headers.
If you manage your domain through SiteHost
Start by reading up on DKIM Records in the Knowledge Base for a full run-through.
Where to update your DNS records
If your send email via a website or service hosted on Cloud Containers:
If you manage your email domain through the SiteHost Control Panel: Login to your SiteHost account and open DNS Zones from the left-hand menu. For more about updating records in this screen, see DNS Records in our Knowledgebase.
If your email domain isn’t registered with us: You’ll need to update your DNS records wherever you manage your domain. It might be time to consider transferring your domain to SiteHost, so you can manage hosting and domains all in the same place.
Once your SPF record is updated the systems that receive your emails, Gmail included, will know that messages coming from SiteHost servers are authentic. This will end your days as a suspected spammer and see you end up in more inboxes, where you belong.