WordPress Hosting
Fast, Flexible Hosting for WordPress Developers
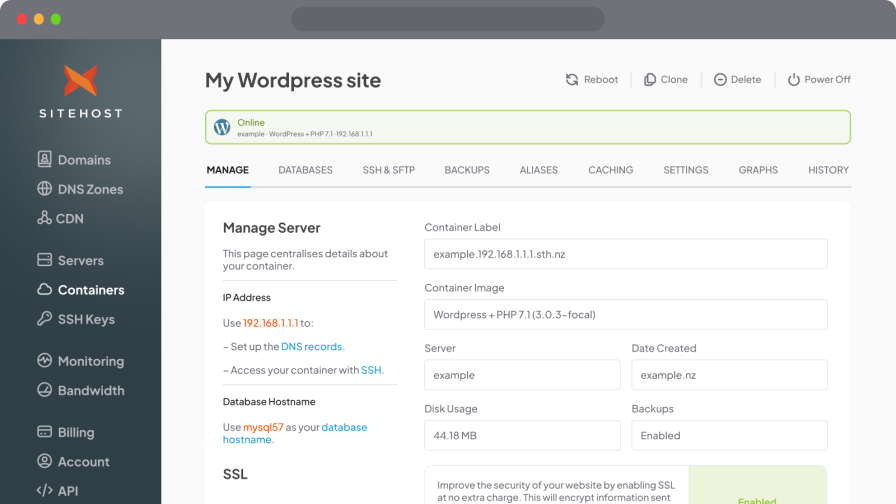
No matter how many sites you're running, SiteHost Cloud Containers offer robust, flexible and fast WordPress hosting. Install WordPress in one click and join hundreds of WordPress developers with SiteHost.